Hey guys! We`re back with another useful blog for you lovely artists out there. In this blog, we are going to learn how to create beautiful alcohol ink artworks using various amazing alcohol ink art techniques! There are many techniques coming up in this blog that y`all might hear for the first time, so do try them out; there are some really interesting ones. Once you successfully create beautiful artwork using the tips in our blog, do send them to us; we’d be delighted to see them. If you are just getting started with alcohol ink art, we also have a really helpful beginners guide for you guys, which y’all can read by clicking here.
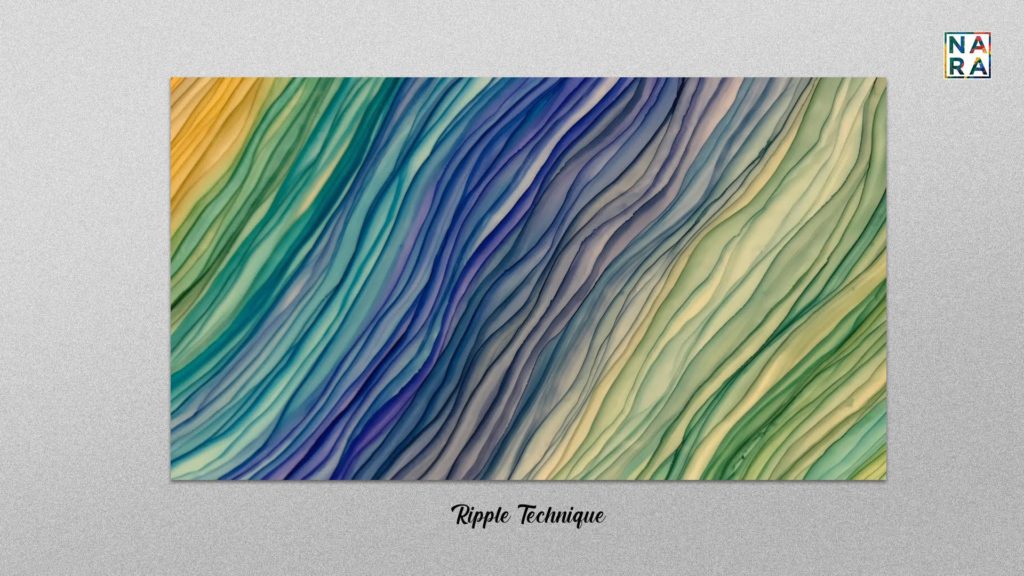
First, you select the inks and surface to create your alcohol ink artwork.
Pour the inks on the surface and spread the inks by tilting the artwork or using blowers or drinking straws to spread the alcohol inks nicely all over the surface.
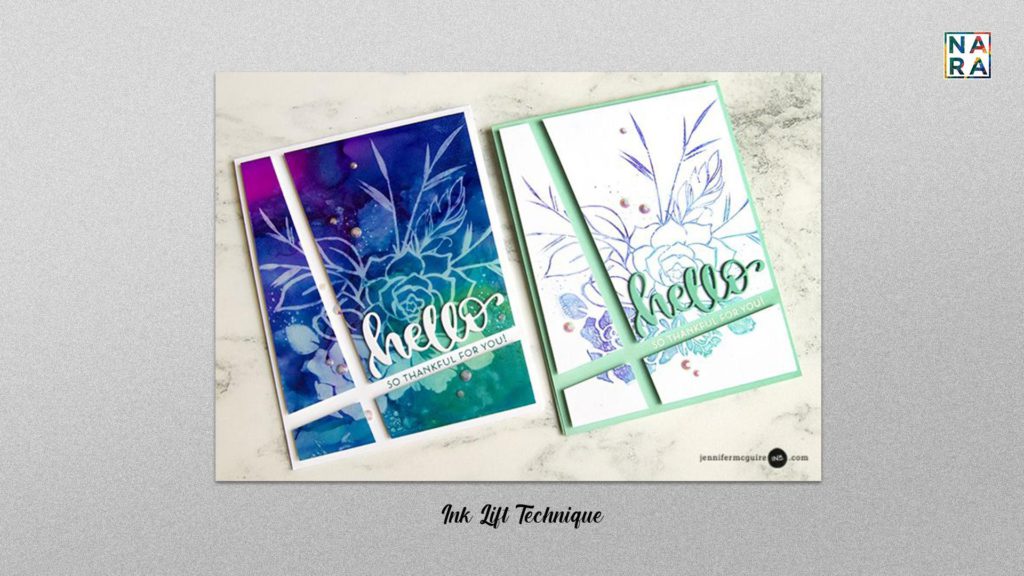
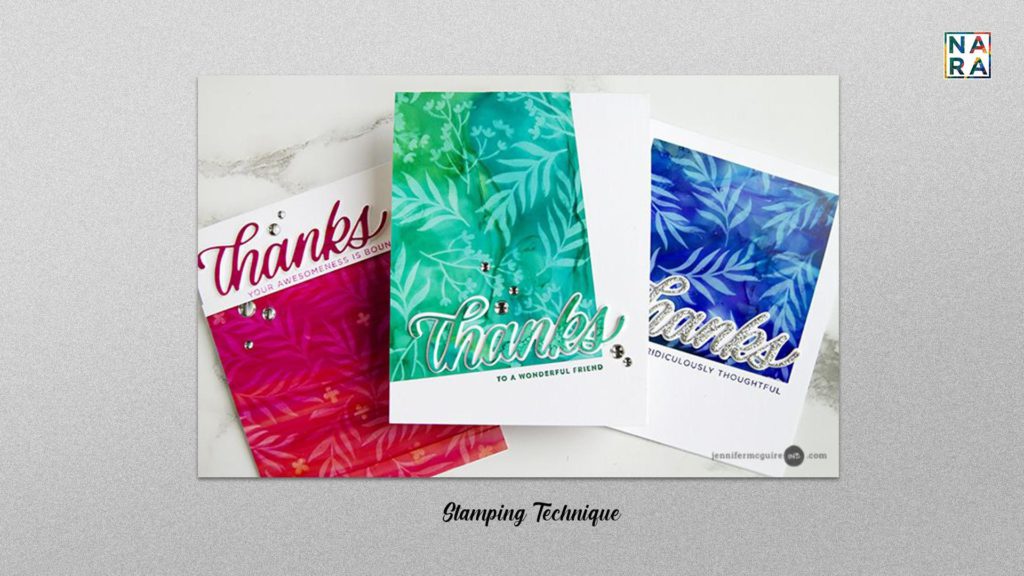
Now grab a stencil, textured cut out of something aesthetic like flowers, majestic creatures, etc.
Rub some alcohol on the stencil/cutout and press it against the artwork firmly while the ink is still wet.
Now press that stencil against a new, clean sheet of paper, and you will get a beautiful outline in the shape of the stencil or cutout that you used.
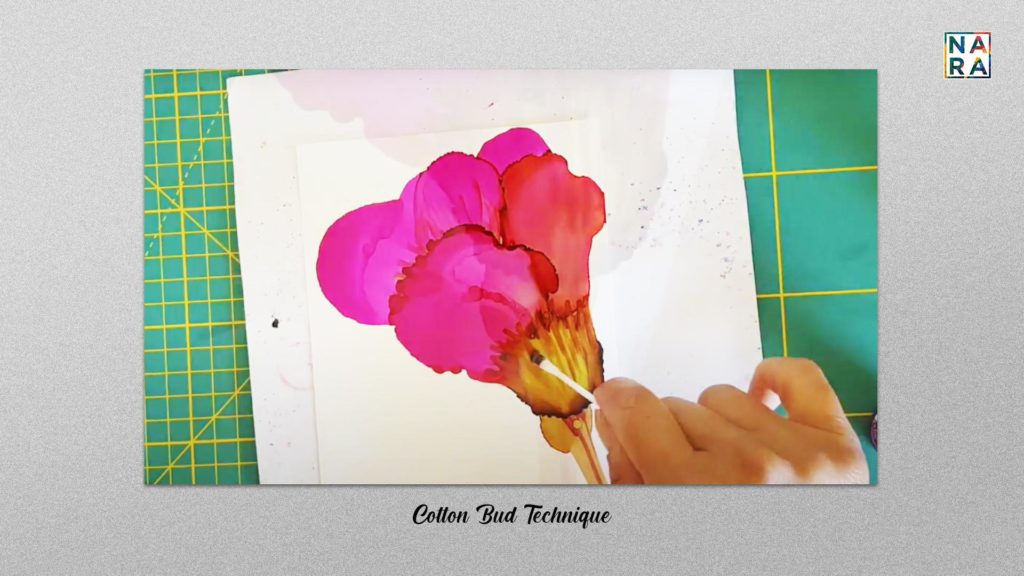
Now, before the ink dries, dab your artwork nicely with a paper napkin or cotton buds, and you will see a beautiful design of the stencil/ cutout imprinted on your artwork!
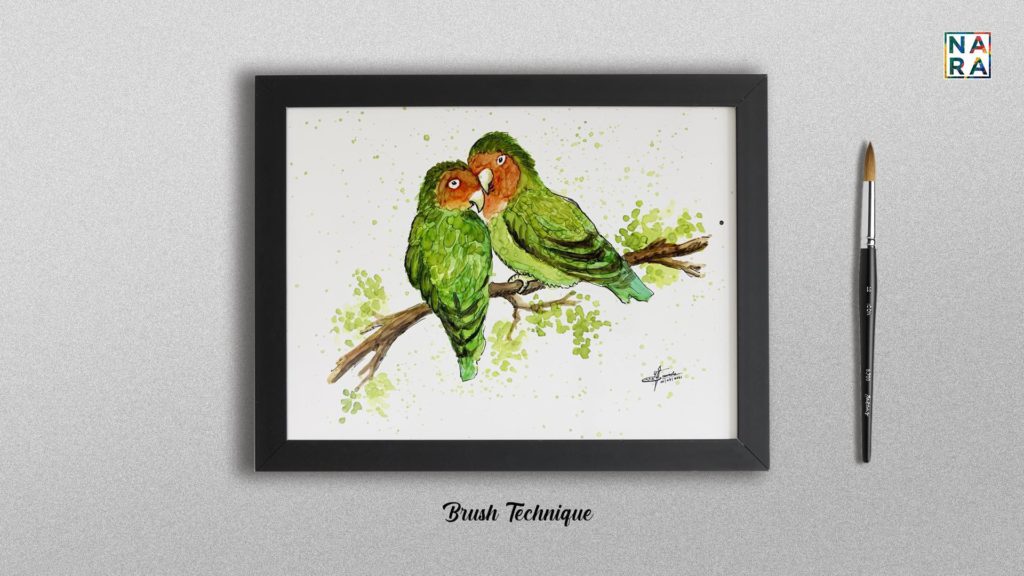
Usually, fluid forms of art like alcohol ink art should be free-flowing and that’s what makes it different and special but you can also use a brush to make different designs through brush strokes.
Take colors and select your surface, dip the brush in the ink and create what your heart likes by using different kinds of brush strokes.
You can also use the brush to splatter ink on your artwork, it gives a nice droplet/ bubble-like effect.
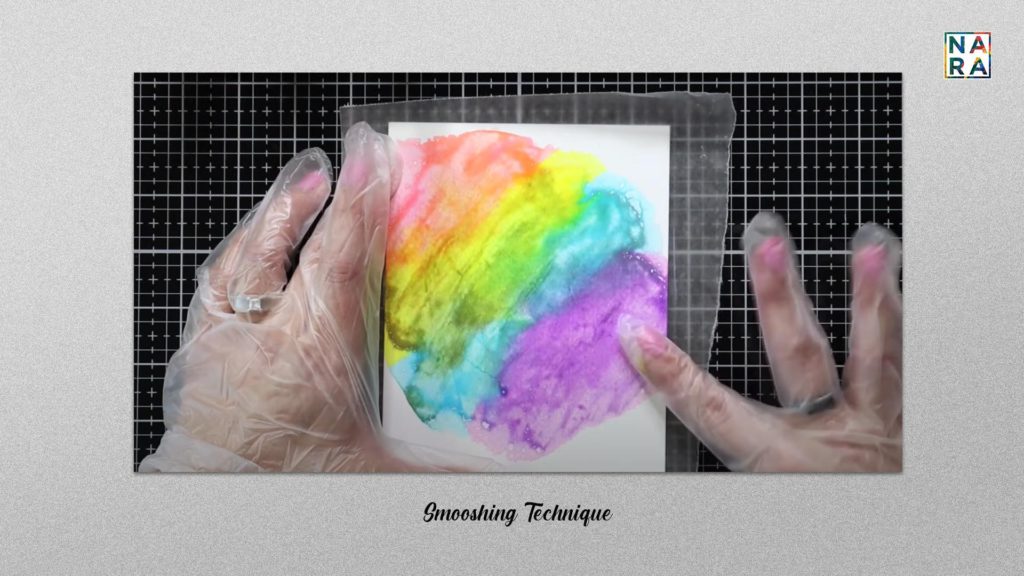
Take some isopropyl alcohol or blending solution and pour it nicely on your NARA paper/surface.
Tilt the paper to spread it properly over the entire surface.
Apply a few drops of each color to the surface and tilt to spread it, If there is too much ink, simply tilt it off onto some paper towel or if you`re using our Nara synthetic paper you can just wipe it off with IPA & a piece of cloth.
Once that’s done, leave it to dry.
You will notice the colors will blend and settle as they dry.
Follow the same process without using the blending solution and then without using IPA and experiment with it!
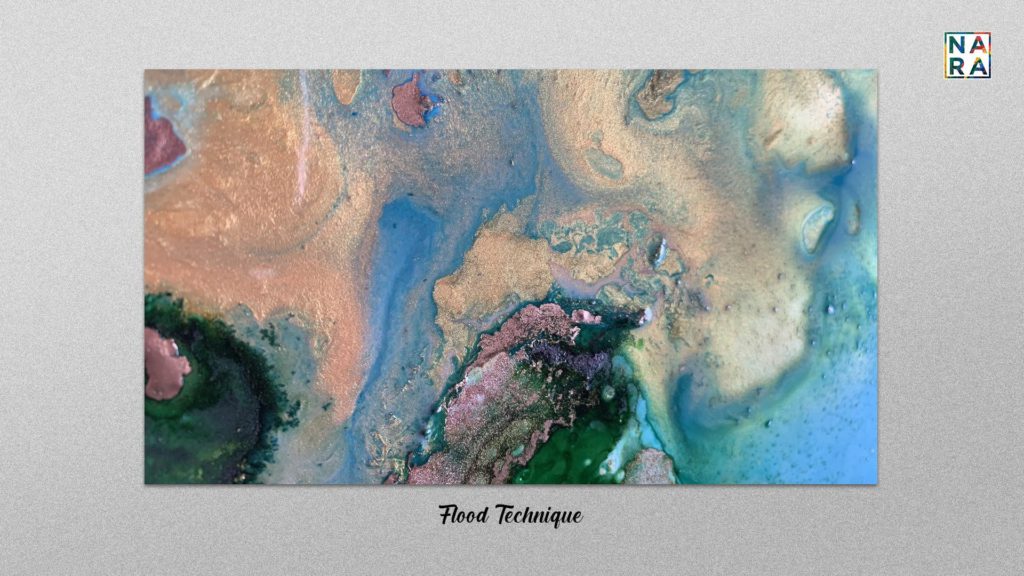
The flood technique refers to covering your painting surface with a good amount of alcohol ink or blending solution before dropping colors onto the surface.
Take a generous amount of alcohol inks and blending solution and pour it out on the surface using small cups or a bowl.
You can then tilt the surface in order to spread the inks properly all over the surface.
You can also spread some glitter & metallic inks to give it a really dynamic look.
Having this flood coat of alcohol come down on the surface together helps your colors to merge in amazing ways and also allows gradation!
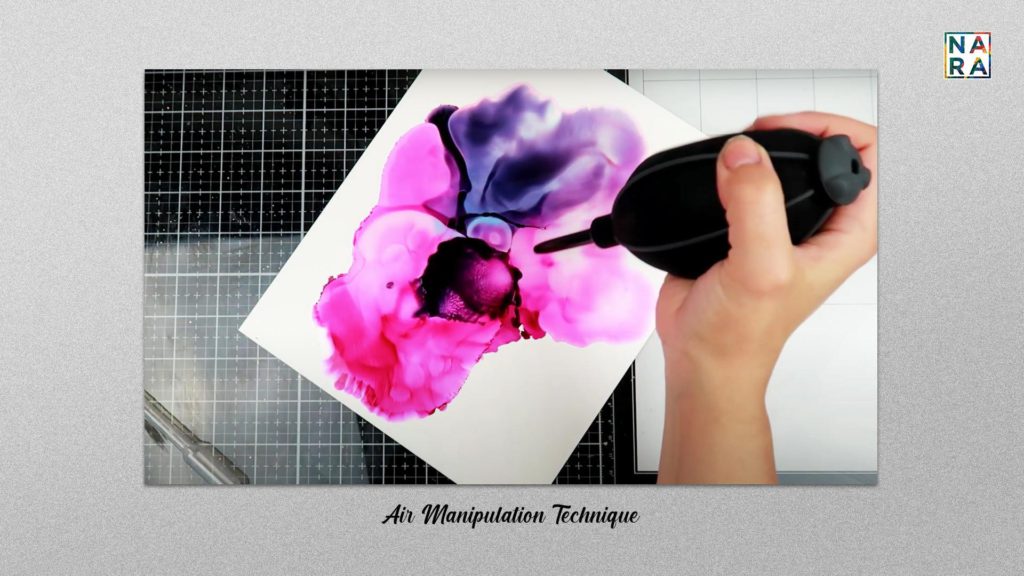
Protect your work surface and make sure it’s clean and there are no dust particles on it.
Place some alcohol in your ice tray or tiny cups, and place a few drops of the desired alcohol ink colors in each to achieve the desired thickness. You can test the colors by piping out a few drops onto a test surface.
Once your surface is ready and you diluted your inks, use a dropper to grab some of your diluted alcohol ink and place it on your inking surface. If this is your first time, use one color at a time until you’re used to the technique.
Using your air puffer tool, blow the ink outward, away from the center of placement.
Place a few drops of blending solution wherever you want the-wisp to be created; a few drops along the outside of your blown out color will create a beautiful & delicate wisp effect.
Layer each color nicely until you achieve the desired effect.
Wisps can be difficult to achieve for beginners, and many experienced alcohol ink artists have a hard time creating them! Keep practicing and you’ll master it! This technique is also perfect for 3D items, like bowls, glasses, and more!
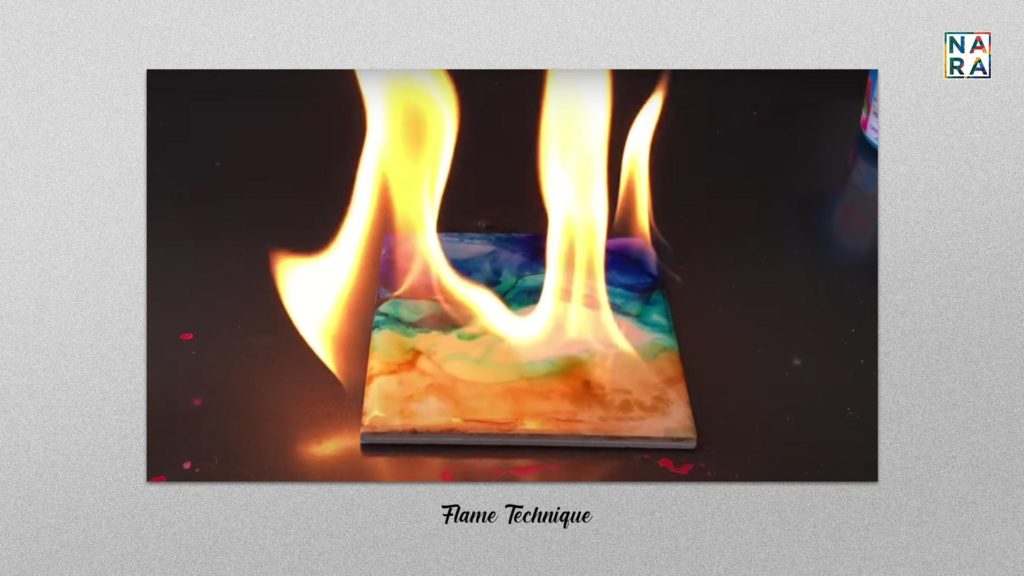
10. Flame Technique
Yes, you read that right! “FLAME” technique! (Take Extra Precautions)
Firstly, be extremely careful while trying this technique, it’s definitely not recommended for kids below the age of 18yrs.
This alcohol ink art technique should only be done on ceramic or concrete surfaces as papers, boards, etc would catch fire and burn. This technique is only recommended to be tried outdoors in an open environment.
Using the flooding technique, place your colors on the first tile. When finished, move inks and isopropyl alcohol at least far far away from the area you are working in as they might catch fire.
Using the camp lighter, lightly bring the flame to one of the corners of the tile nearest to you. You will only need to very lightly touch the alcohol to get it to light. Light the closest point to you, so that you do not need to reach over the tile to light it, subsequently having to pull your hand and the lighter over the top of the flame.
The alcohol will light quickly– remove your hand and lighter as quickly as you can, and then back away from the tile. It will burn until the alcohol has dissipated.
Wait about 5 minutes to make sure that the flame has burned out completely.
Repeat this process with the other tiles. Once finished, allow the tiles to cure for at least 30 minutes (preferably an hour) before handling with an oven mitt.
If you’d like to add more color to one of your already-fired tiles, you can keep repeating the process on the same tile. However, you should not repeat it more than 2 or 3 times in a short time period to avoid the possibility of your ceramic tile breaking.
Conclusion
We really hope you guys found this blog useful and you guys are going to try out some of these or maybe all of these techniques and send in your beautiful artworks to us, haha! We’ll eagerly be waiting to see them. You can click a picture of your lovely artworks along with a Nara strip or other Nara products you use and email them to us at [email protected]!
Finally, we’d like to say please do take necessary precautions while working with alcohol inks, work in a well-ventilated place, wear a mask and gloves and have fun! We’ll be back soon with another amazing and informative blog for you guys until then stay tuned and do follow us on Instagram, Facebook and subscribe to our Youtube channel in order to stay up to date with all the latest happenings in the alcohol ink art community, amazing new product launches, deal & offers and much much more!
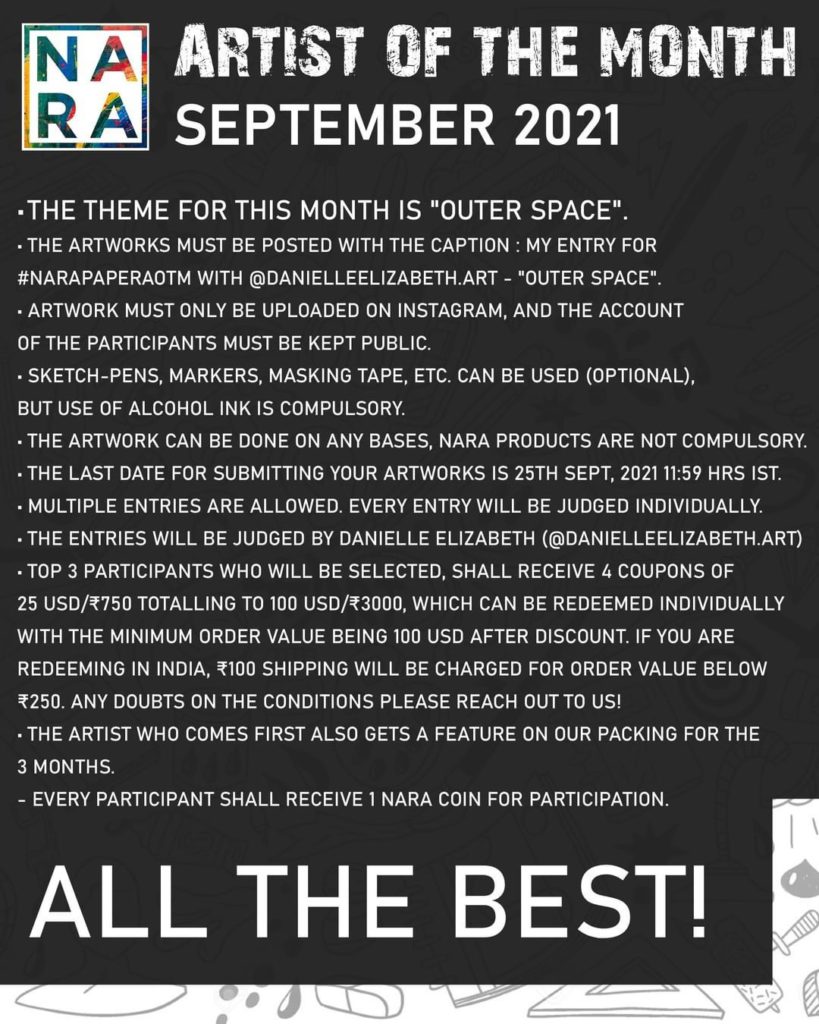
Also, do participate in our Nara artist of the month competition and stand a chance to win amazing goodies and feature on our packaging for 3 whole months!!! Do not miss out!
Art has always been a reflection of movement, change, and exploration. Over time, styles evolve, materials transform, and what was once considered unconventional often finds
Art is not just about creation, it’s about connection. Every brushstroke, every ink flow, and every carefully crafted detail tells a story. But what if