The first step to any resin project is an estimation. This is to calculate the amount of resin and hardener needed. For this, you can use any resin calculator depending on your mold shape. In the resin calculator, you can add the dimensions and the thickness to get a clear estimation.
2. Measure the desired amount of resin
Before working with the resin it is important to wear Nitrile Gloves(powder-free gloves) for safety. Now start pouring the resin and the hardener into the cup according to your estimations. Also, make sure that the weight of the cup is nullified before adding the resin, so the weight of the container is not added.
3. Stir the mixture well
Now comes the most important step of the project and that is mixing, as we are using very less quantities it is very important to mix properly. Use the ice cream stick to mix the resin for about 4-5 minutes. When you mix, ensure that you scrape the sides and mix to create a fully homogeneous mixture.
After mixing divide the mixture into 3 cups. You may use a variety of various colorants such as Alcohol ink, color pigments, and special resin dyes depending on what type of effects you want. Also, mix well to get a good consistency.
4. Pour the mixture into the mold
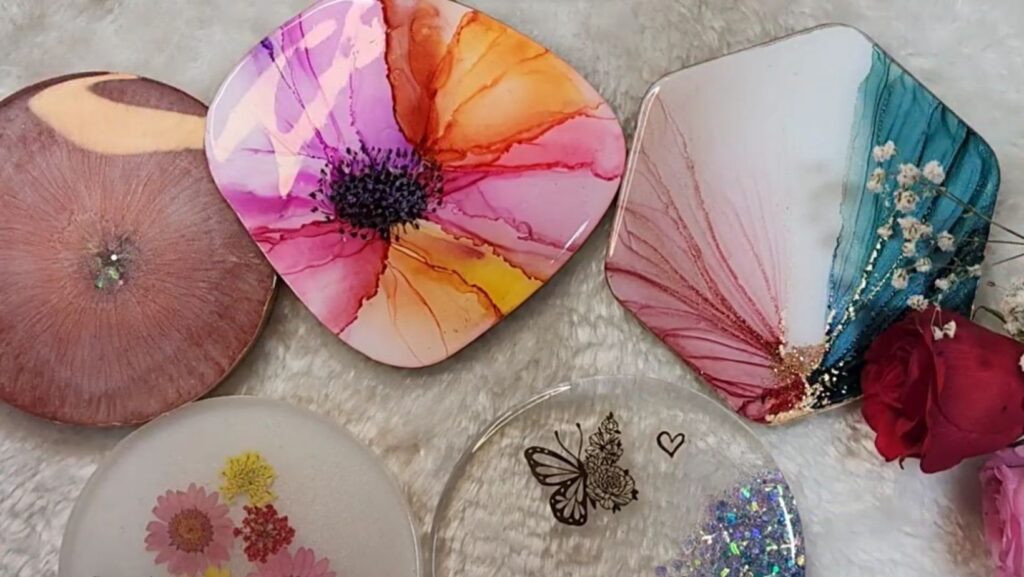
We have reached the most exciting part of the project, where we pour the resin into the mold.
Now pour the three shades in different motions to give a beautiful look to your art. You can also create some effects like swirls with the help of the ice cream sticks or blow air with a hairdryer to make a smooth texture.
5. Let the resin Cure
Resin usually takes 24 hours to get cured. To cure it properly keep the coasters in a completely untouched environment and do not disturb them at all. Also, cover your coaster to avoid any dust particles.
6. Highlight the Edges (Optional)
After the resin is being cured for about 24 hours, now we will demold the coaster out of the silicon mold. Your coaster is now ready, but we can also use a highlighter to just highlight the edges. Highlighter gives you a metallic finish to your coasters. It is recommended to use masking tape so that the surface of the coaster is covered and only the edges are exposed. Use a simple paintbrush or a marker to highlight the edges properly. Take about 15-20 minutes to let the highlighter dry.
After the highlighter has dried remove the masking tape and your coaster is ready.
Also, check out the amazing video made by a rebound artist Anju Paul on Youtube.
You can also checkout this amazing artist on Instagram: @anjus_creations
Art has always been a reflection of movement, change, and exploration. Over time, styles evolve, materials transform, and what was once considered unconventional often finds
Art is not just about creation, it’s about connection. Every brushstroke, every ink flow, and every carefully crafted detail tells a story. But what if